
Have you ever wanted embrace dad-ism and build a workbench using hand tools while listening to 80’s metal? Well I spent about a week cleaning my garage, building said workbench and outfitting it to be a proper workspace.
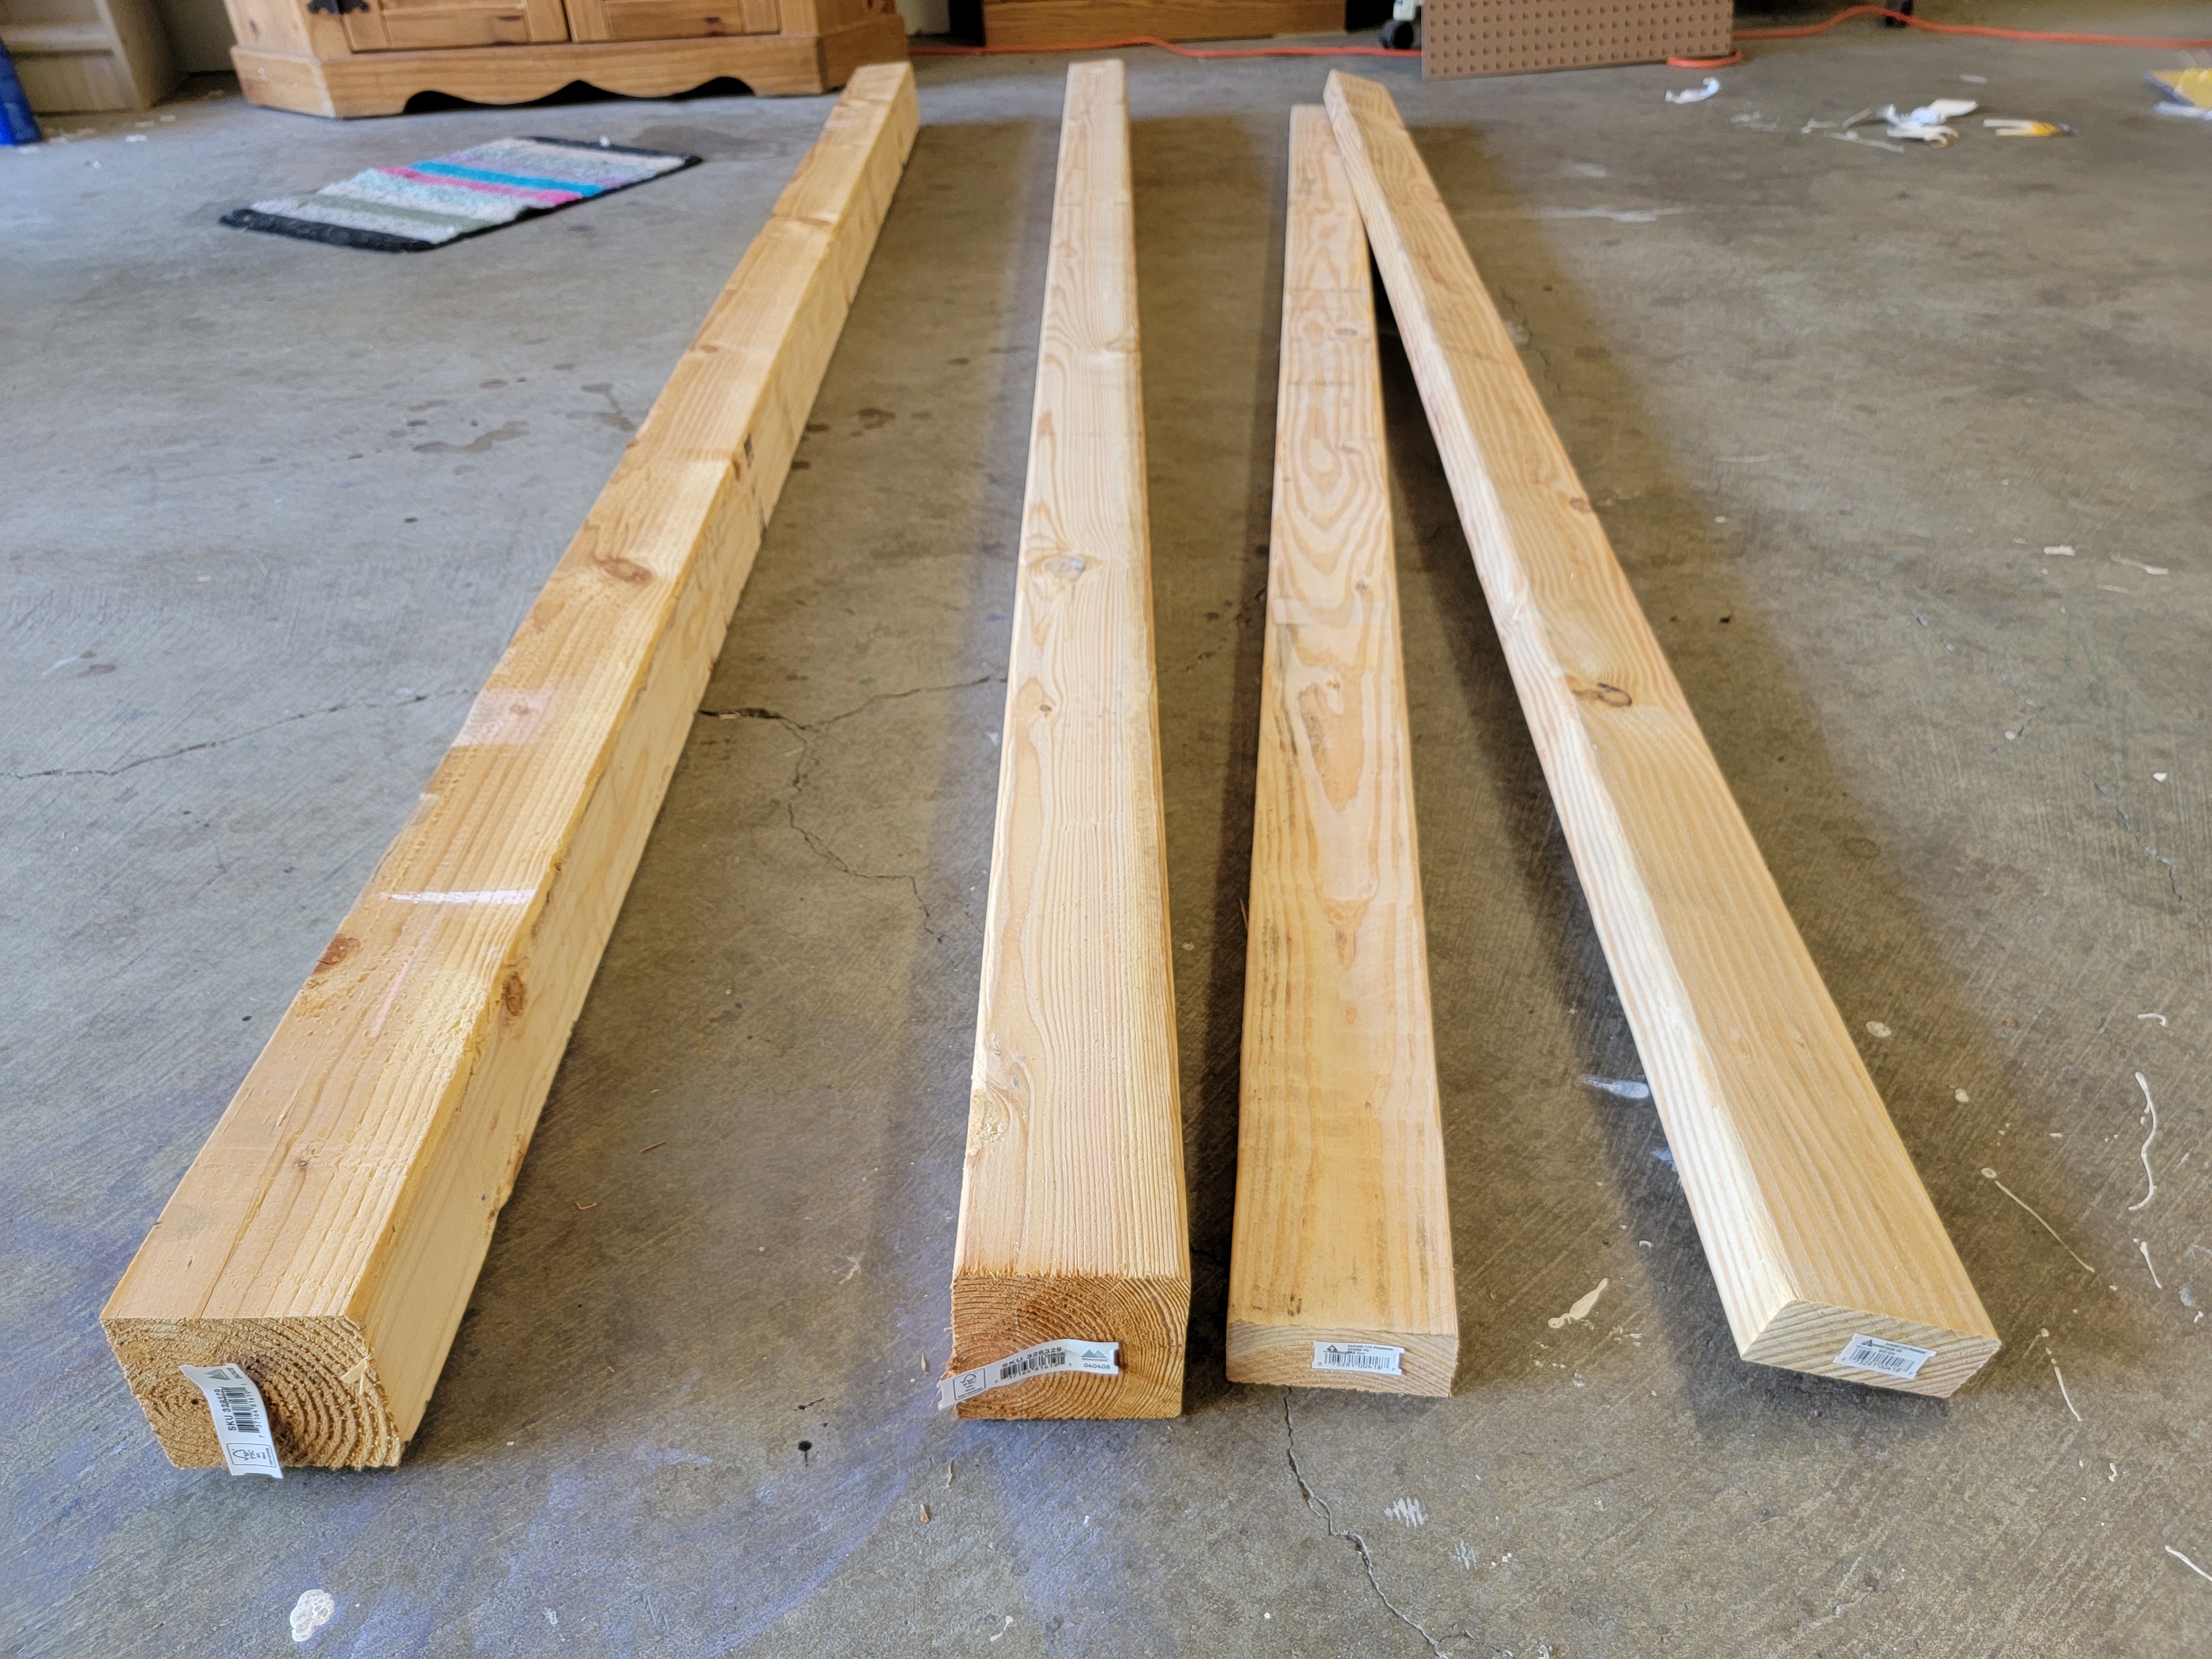
The idea came to me when going through some of the construction scrap left here. There’s some plywood, sheetrock, 2×4’s, a 4×4, a few doors, and an unused desk top. Hmmm….unused desk top, thus my mind began stirring. Some research later it was decided, I would make four legs and join them in pairs. I’m not even close to being an experienced carpenter but I’m not entirely green either.

There’s a lot of ways to join wood but the best ways only need wood and glue, driving nails, screws, bolts or whatever actually weakens the wood. I was born in Indiana which is mildly famous for it’s covered bridges, even having a covered bridge festival. Now from what I remember most of those bridges were built in the 1800’s but they were made entirely of wood. Relevance? Those all-wooden bridges still stand today because they were made well.

Even more research later and I’d settled on a joint: a mortise and tenon. There’s many different joints but a mortise and tenon is considered one of the strongest. When talking to my carpenter-turned-homebuilder father he told me proper wood joining is “fundamentally based upon increasing surface area for glue bond”. While this absolutely makes sense especially with the ease at which adhesives can be produced I actually expected him to be a bit more traditionalist and prefer wood-only. None of this changes the fact that a mortise and tenon is a great joint, if you’re sitting in a wooden chair right now it’s likely that’s the joint in use. A mortise would be a cavity or hole in the wood, in which the tenon snugly slides into. For mine I did a through-tenon, meaning the tenon went through the entire width of my mortised leg and protrudes from the other side. Thinking about it, it would make sense why this is such a strong joint as the tenon piece will distribute the force to the legs which push directly down along the length of the wood.
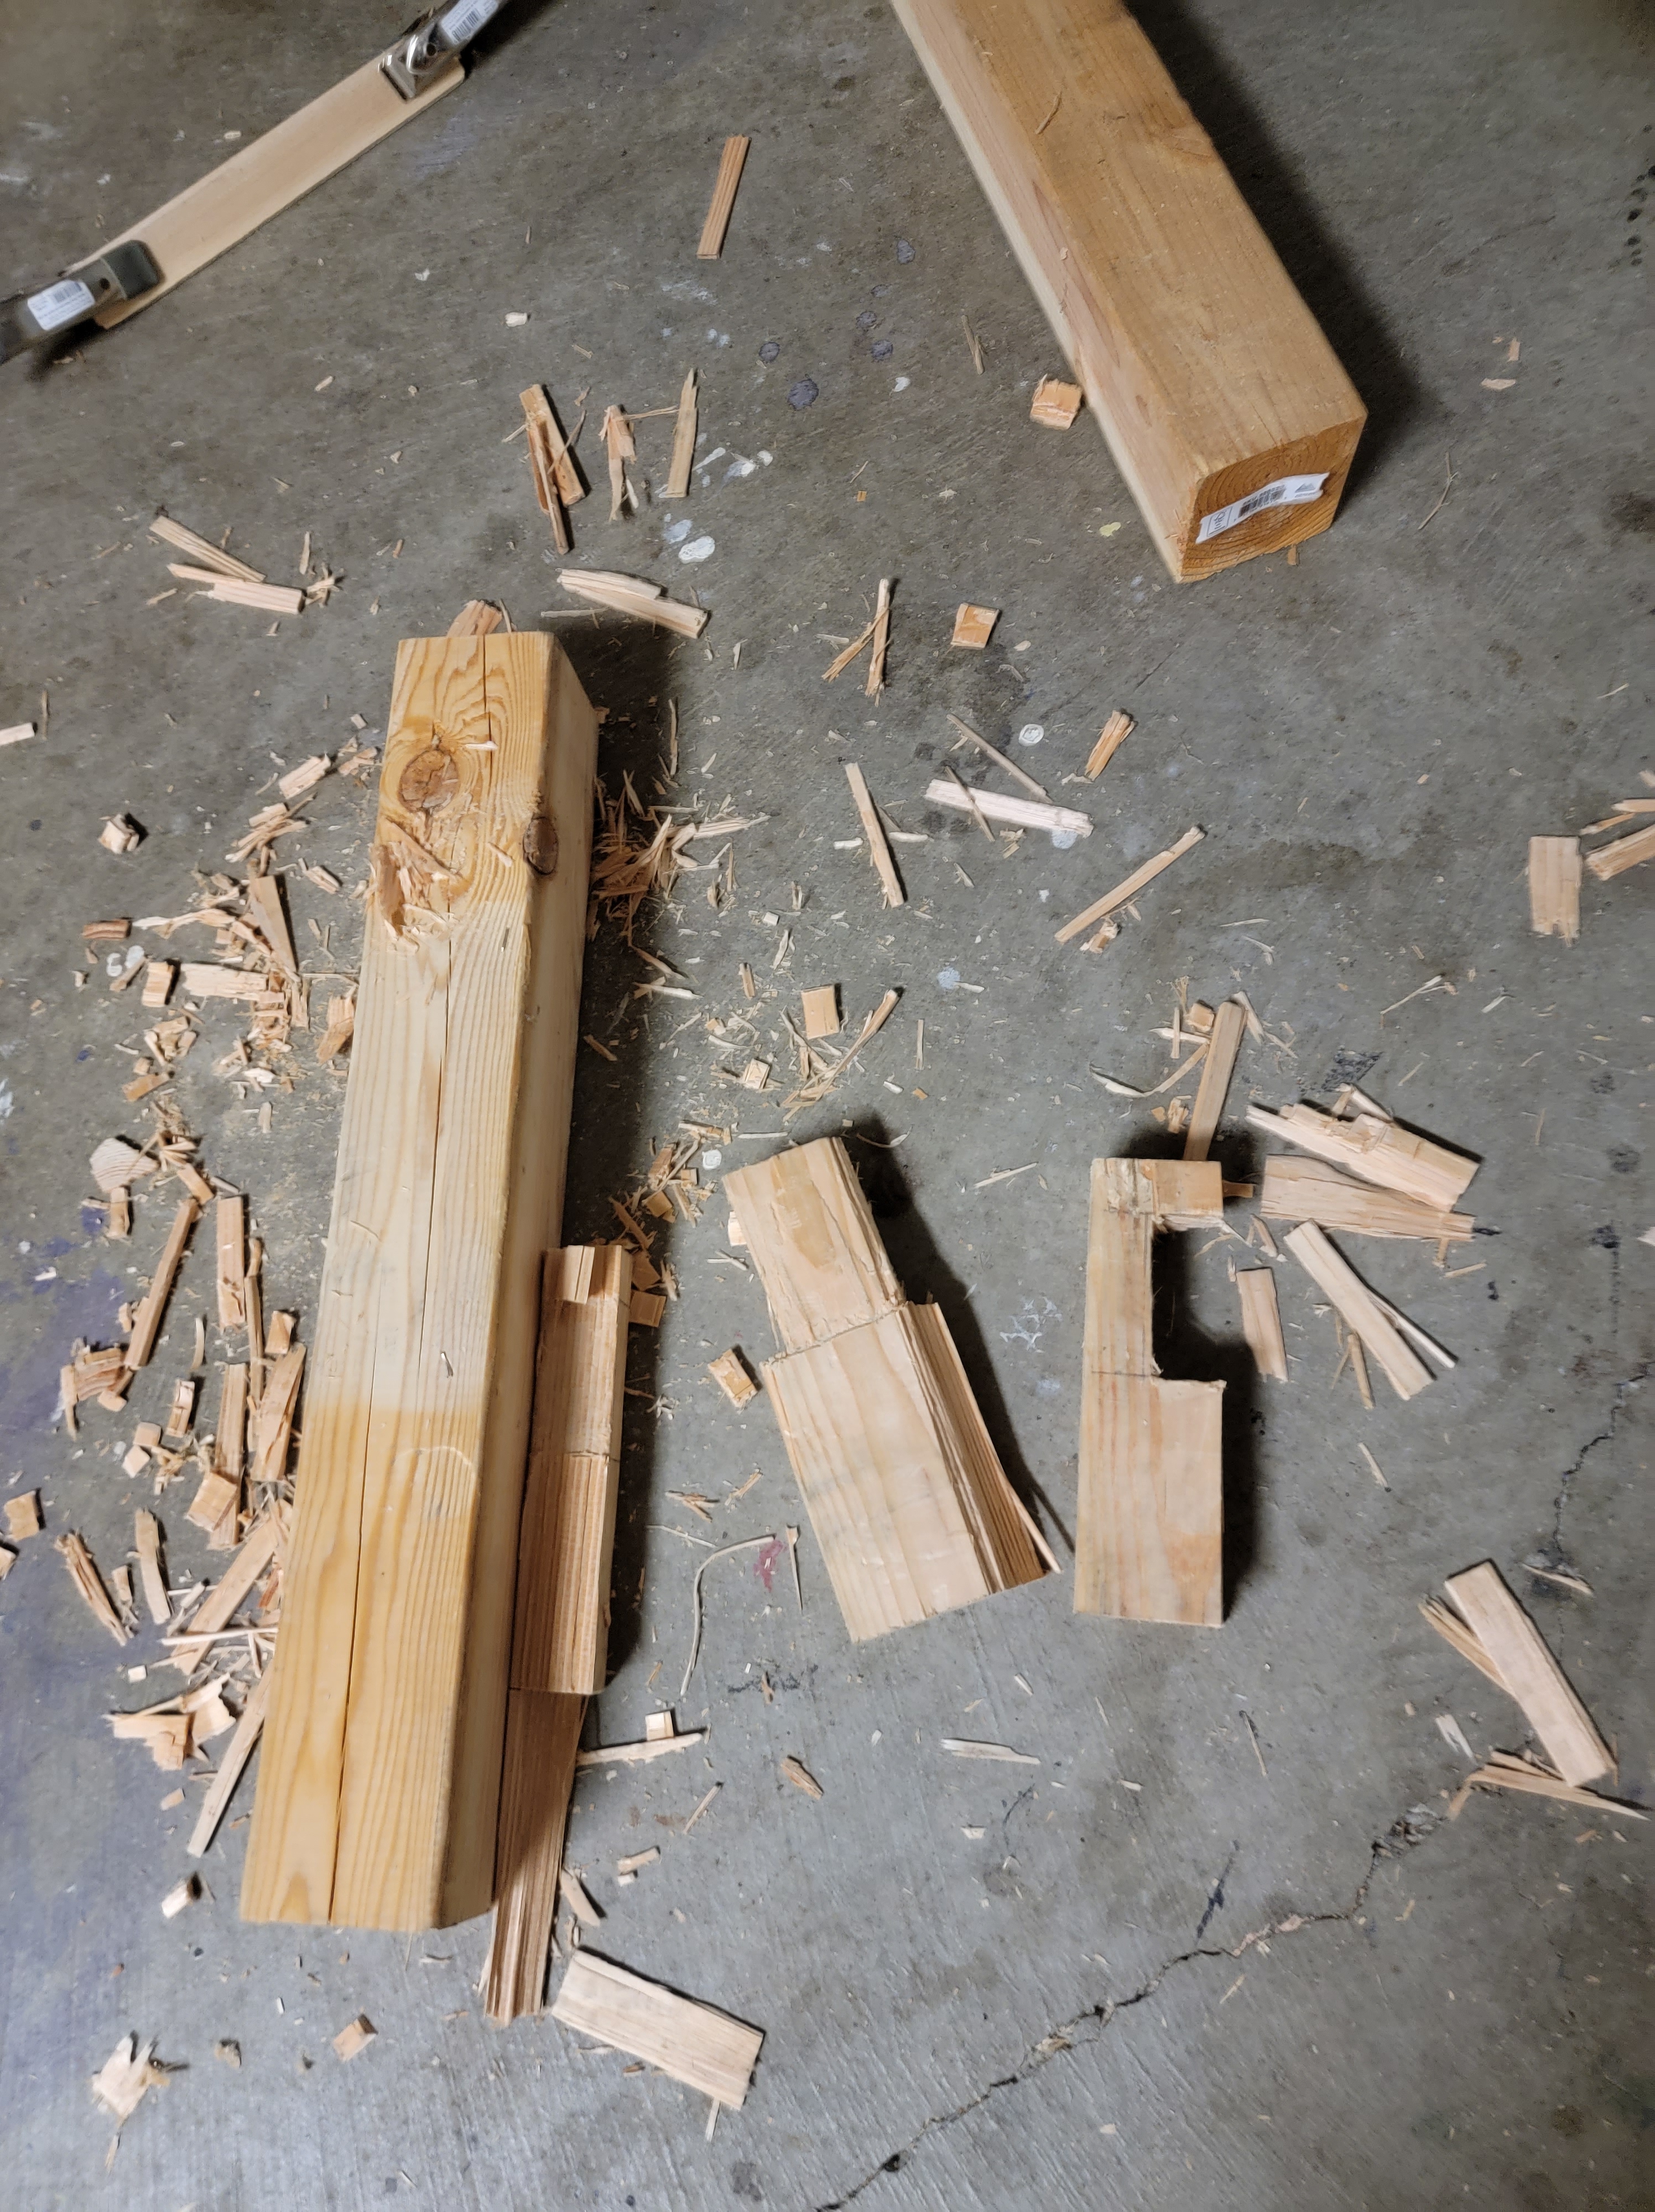
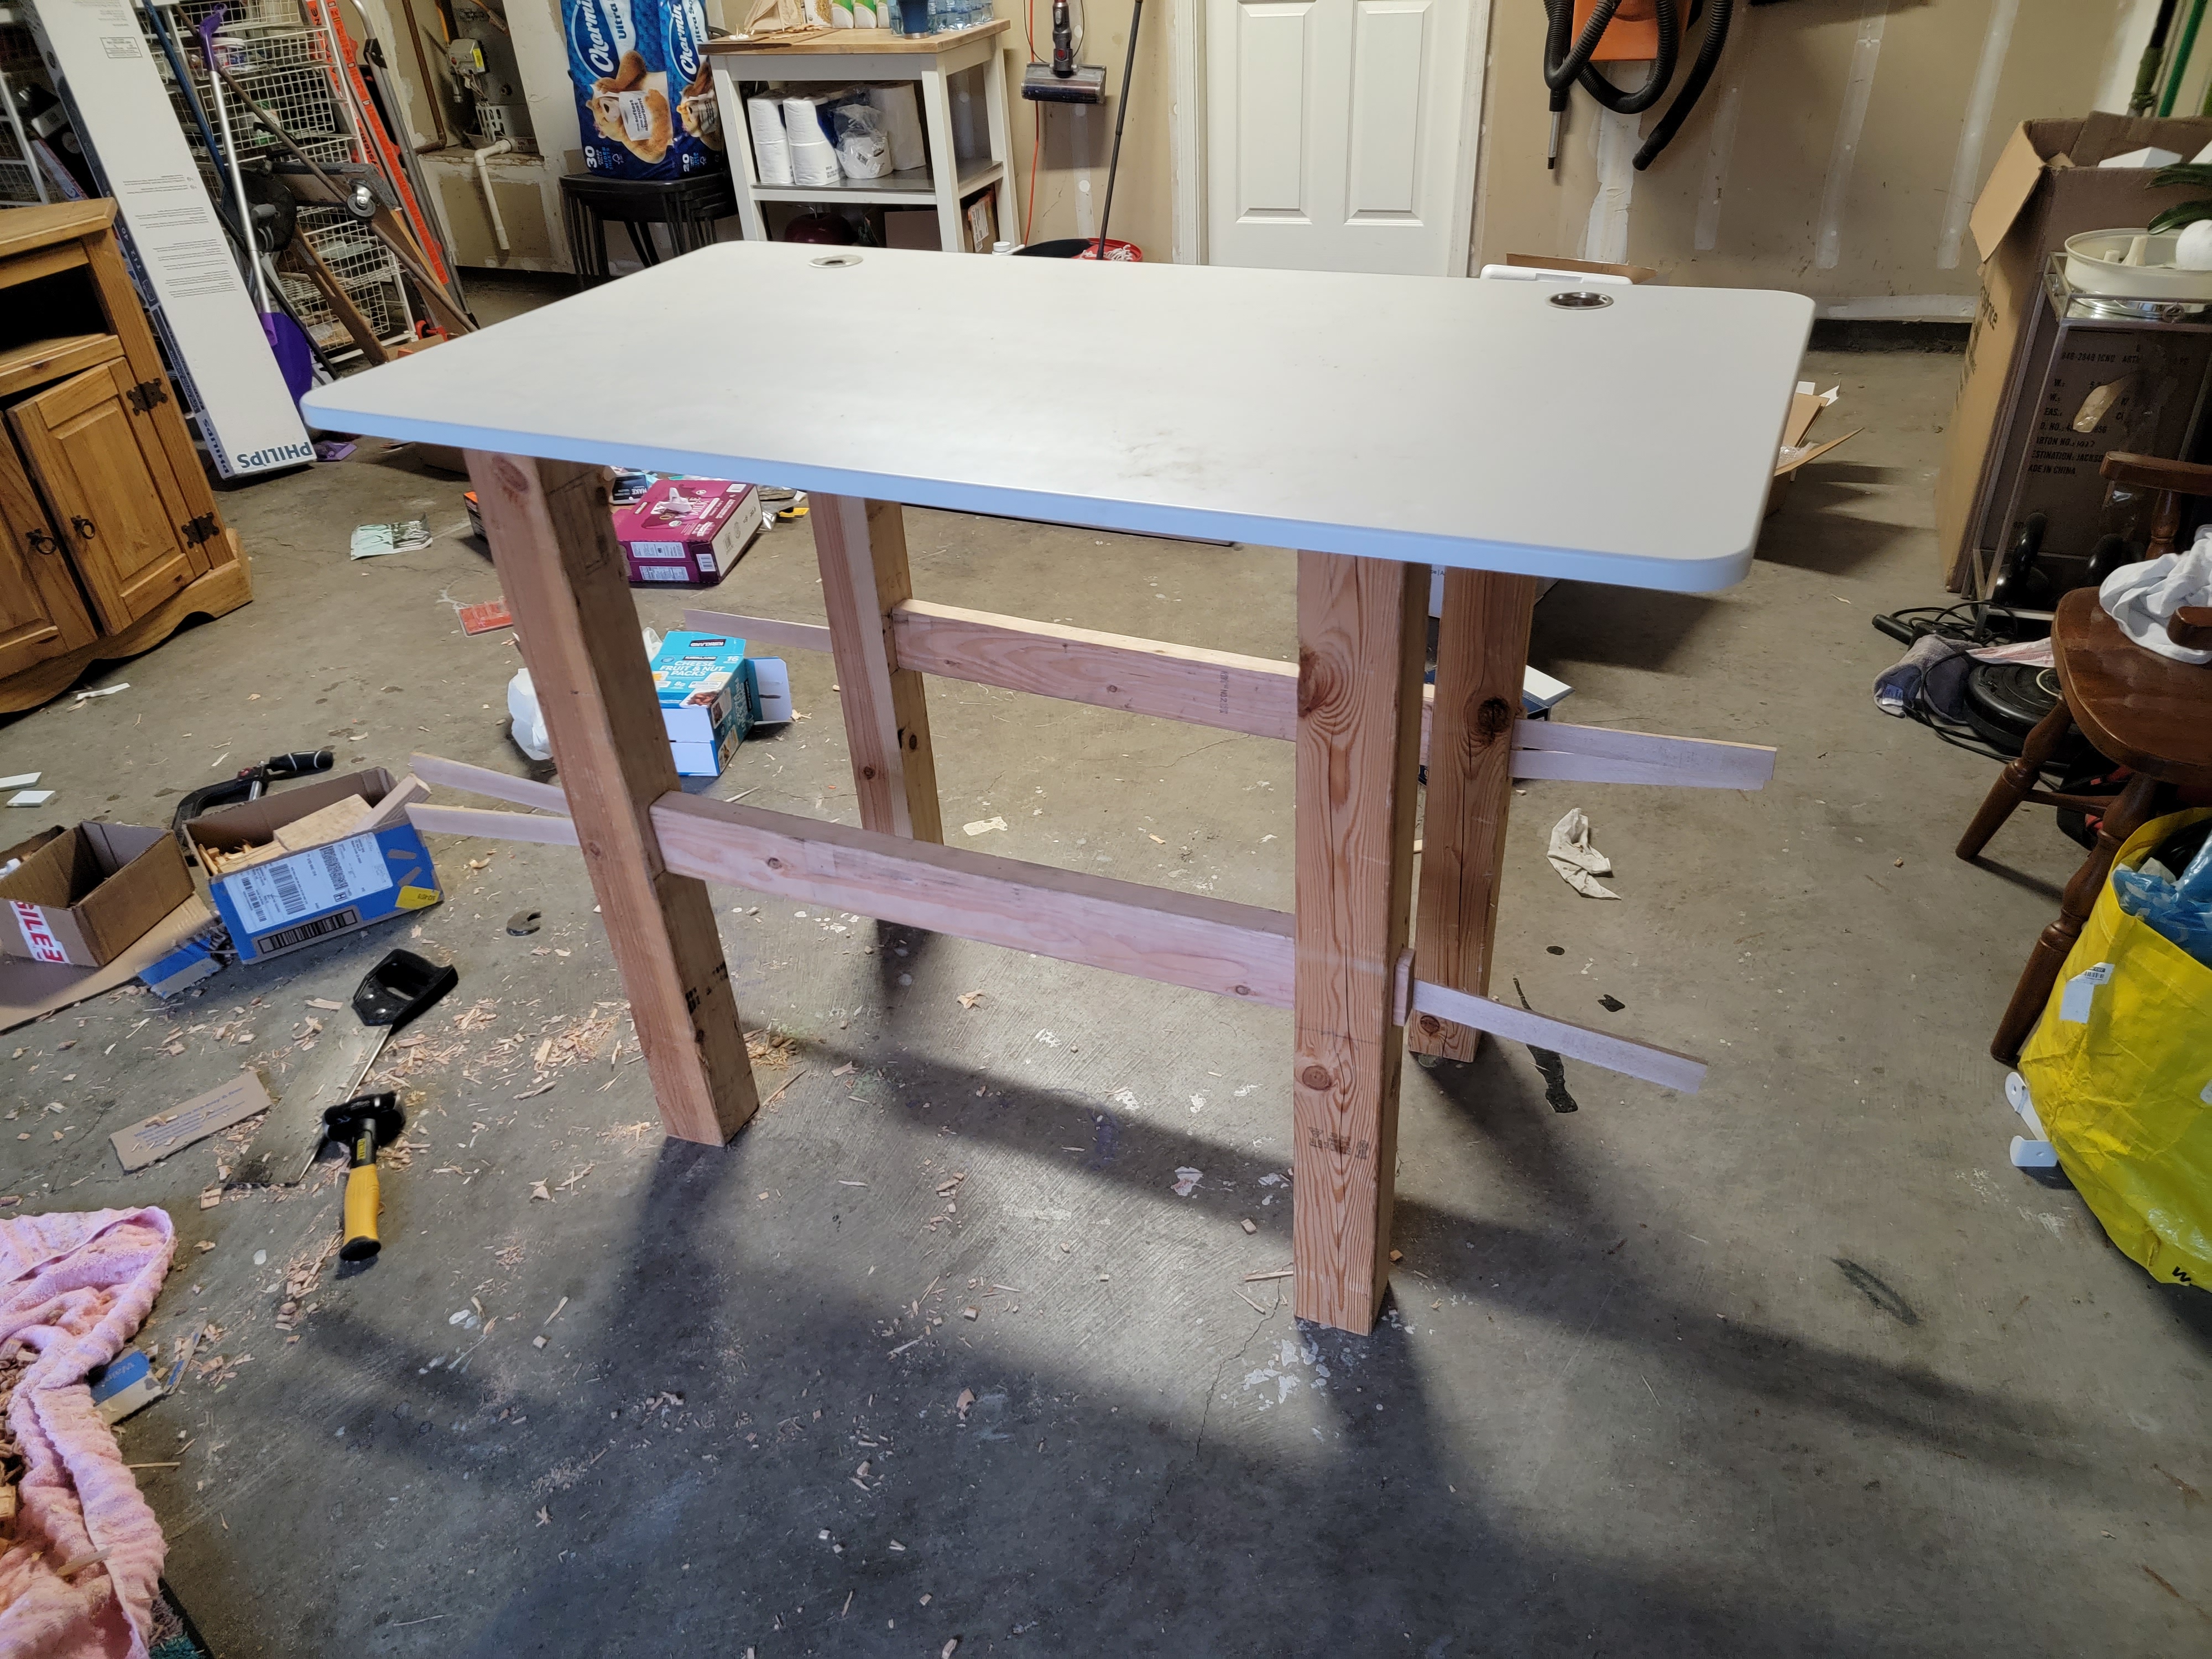
I had a plan, I bought the tools and supplies now it was just a matter of labor. To start as any carpenter should I measured everything, went over it with pencil then measured again. Except I didn’t do that I measured, didn’t mark it at first and instead took a scrap 2×4 and made a pracice joint. I mismeasured leaving my mortise long and tenon too wide. Trying to force it broke the mortise wall. Also I chiseled my mortise entirely from one side, so when I cut through , it splintered some vertical grains. This imprecision persisted in my work but knowing I wasn’t perfect meant I could plan around that. So while the baby was sleeping I measured and marked (in pencil) my cut-lines. The desk top itself is four feet wide and two feet deep so I planned for four legs, each a 4×4 3′ in length with my rail being 2′ long and 1/8″ shoulder. This all worked out great except three problems. One I gave a tenon a 1/4″ shoulder on one face. Two for whatever reason I cut my rails too long and instead of having my legs stand on each side they needed to be re-arranged front to back. Though on one face of one side of a mortise I cut 1/8″ too long leaving a gap.
When discussing this with my dad, he was curious how I would start the mortise cuts. I chiseled straight down on my cut mark to make an outline, then cut at intervals to weaken the surface. From there shearing the face with the chisel angled into the mortise is pretty easy. The above picture shows what this looks like.
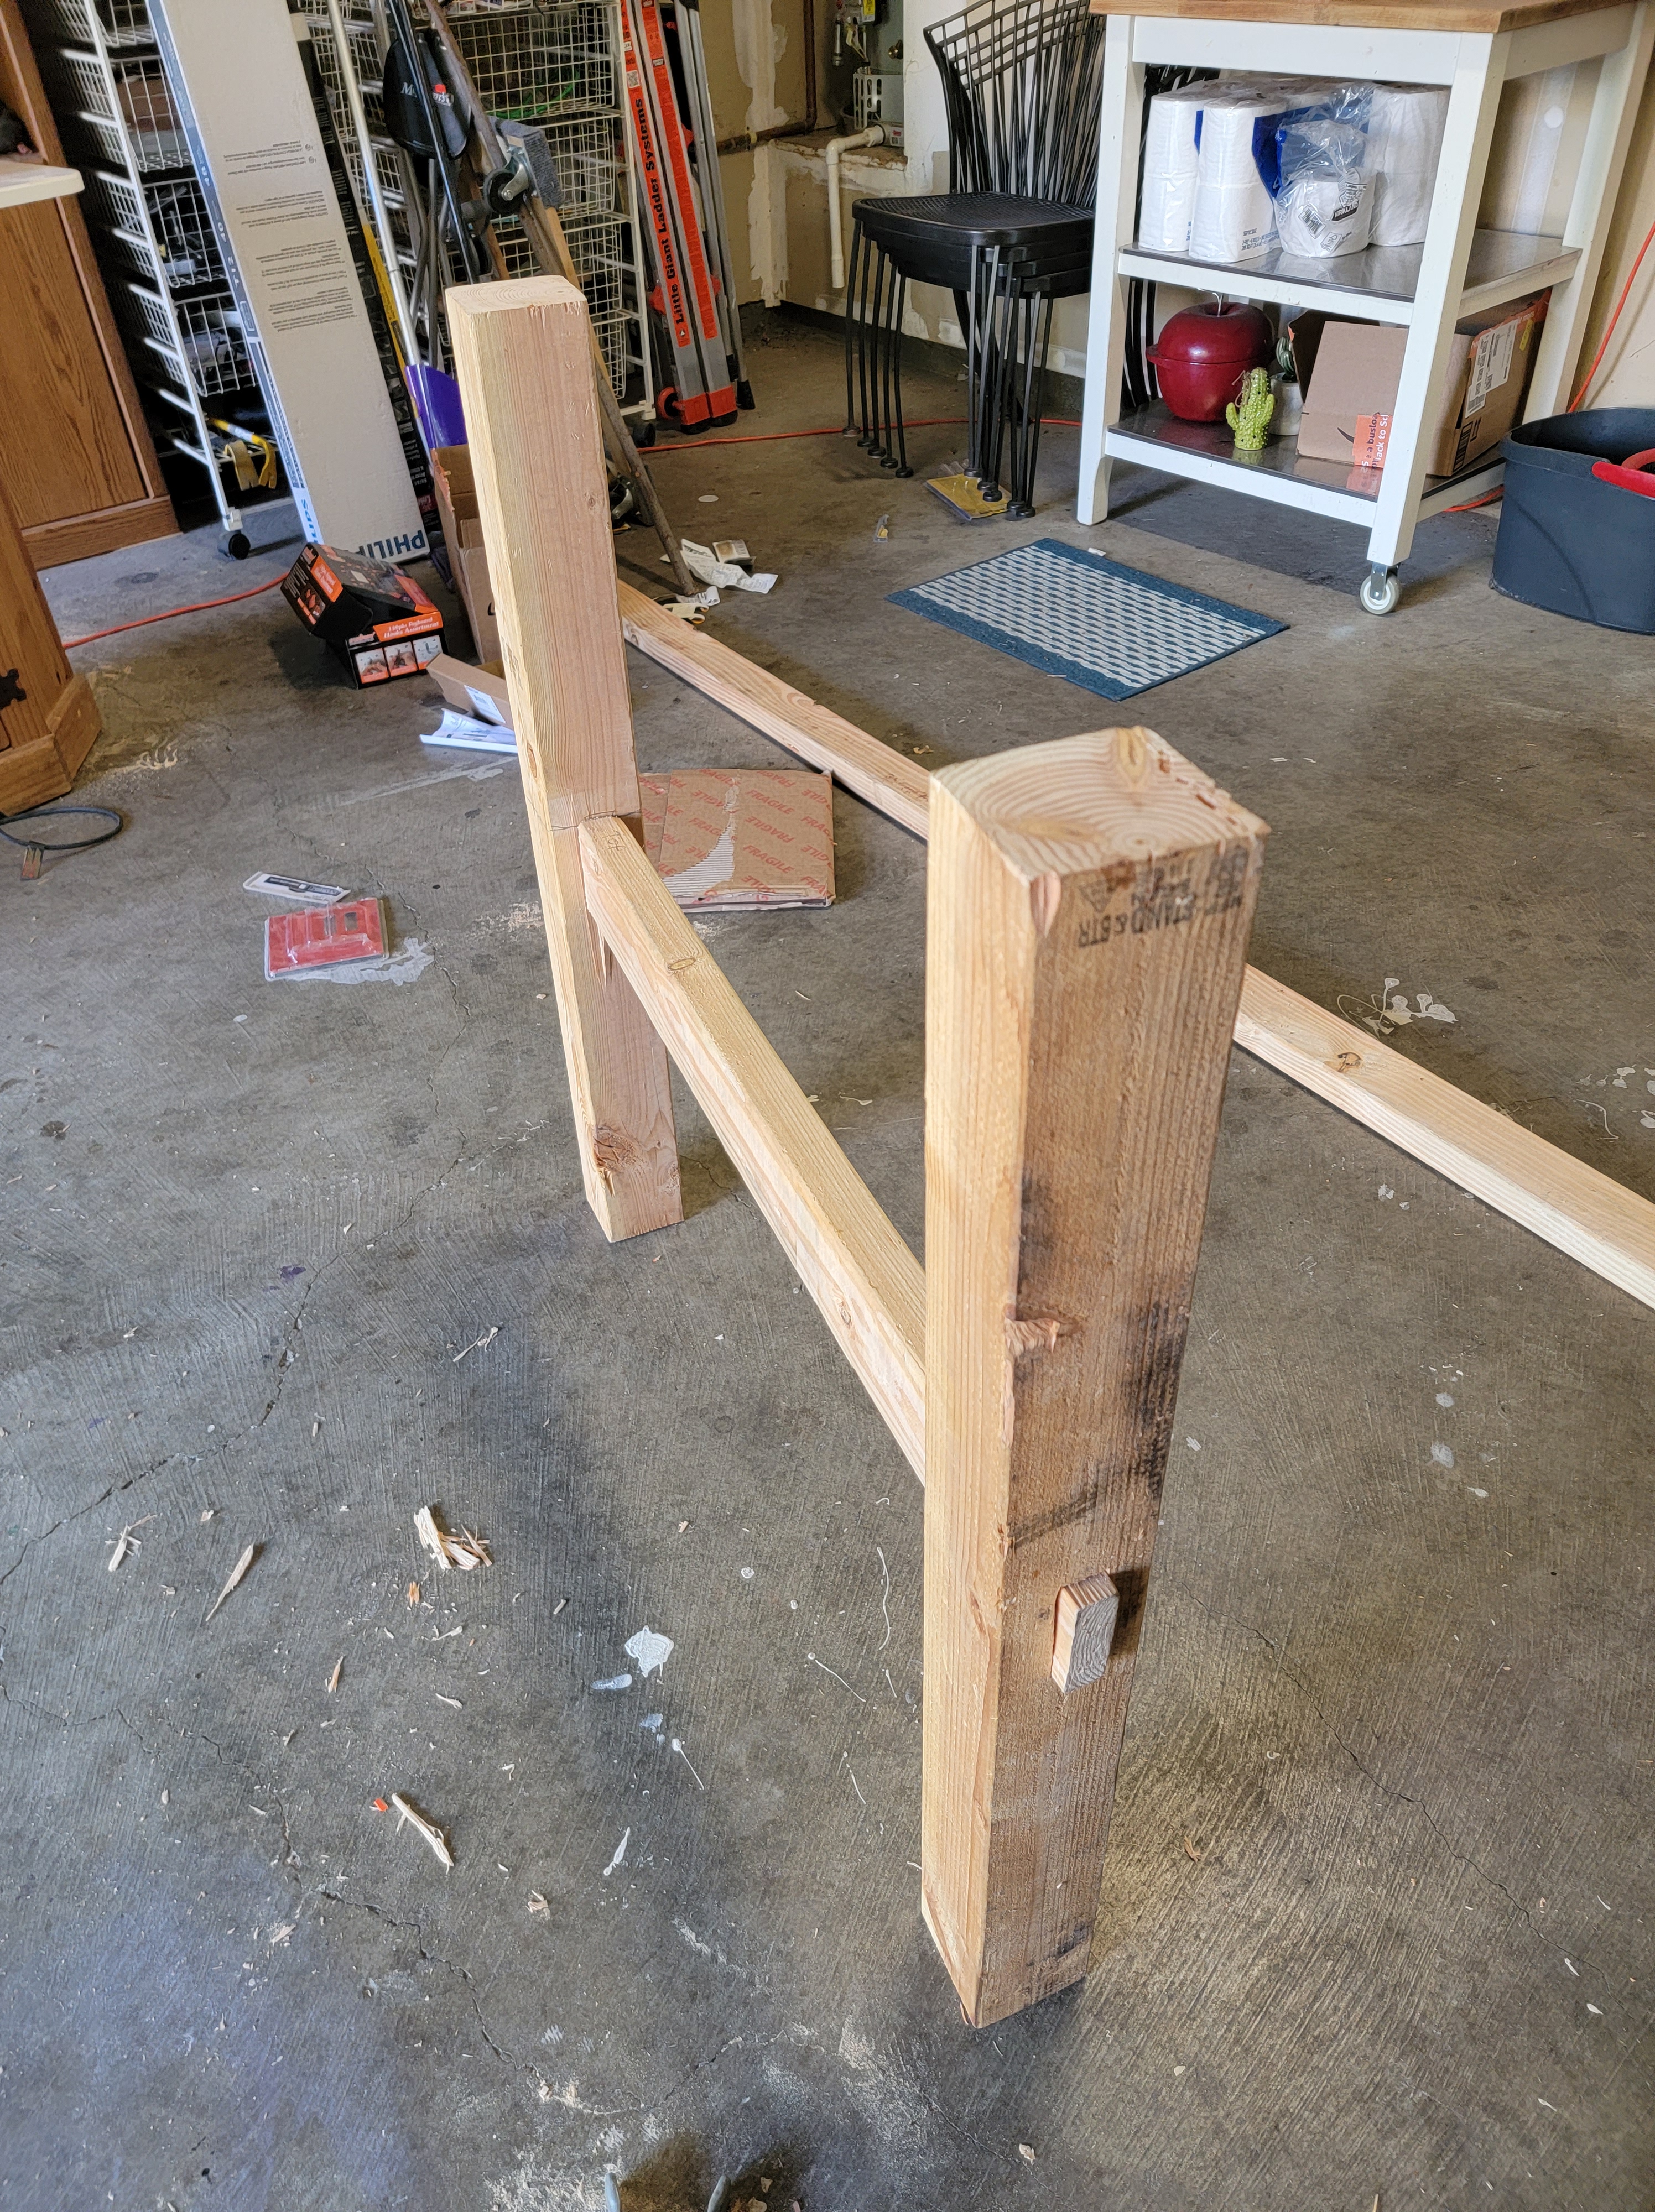
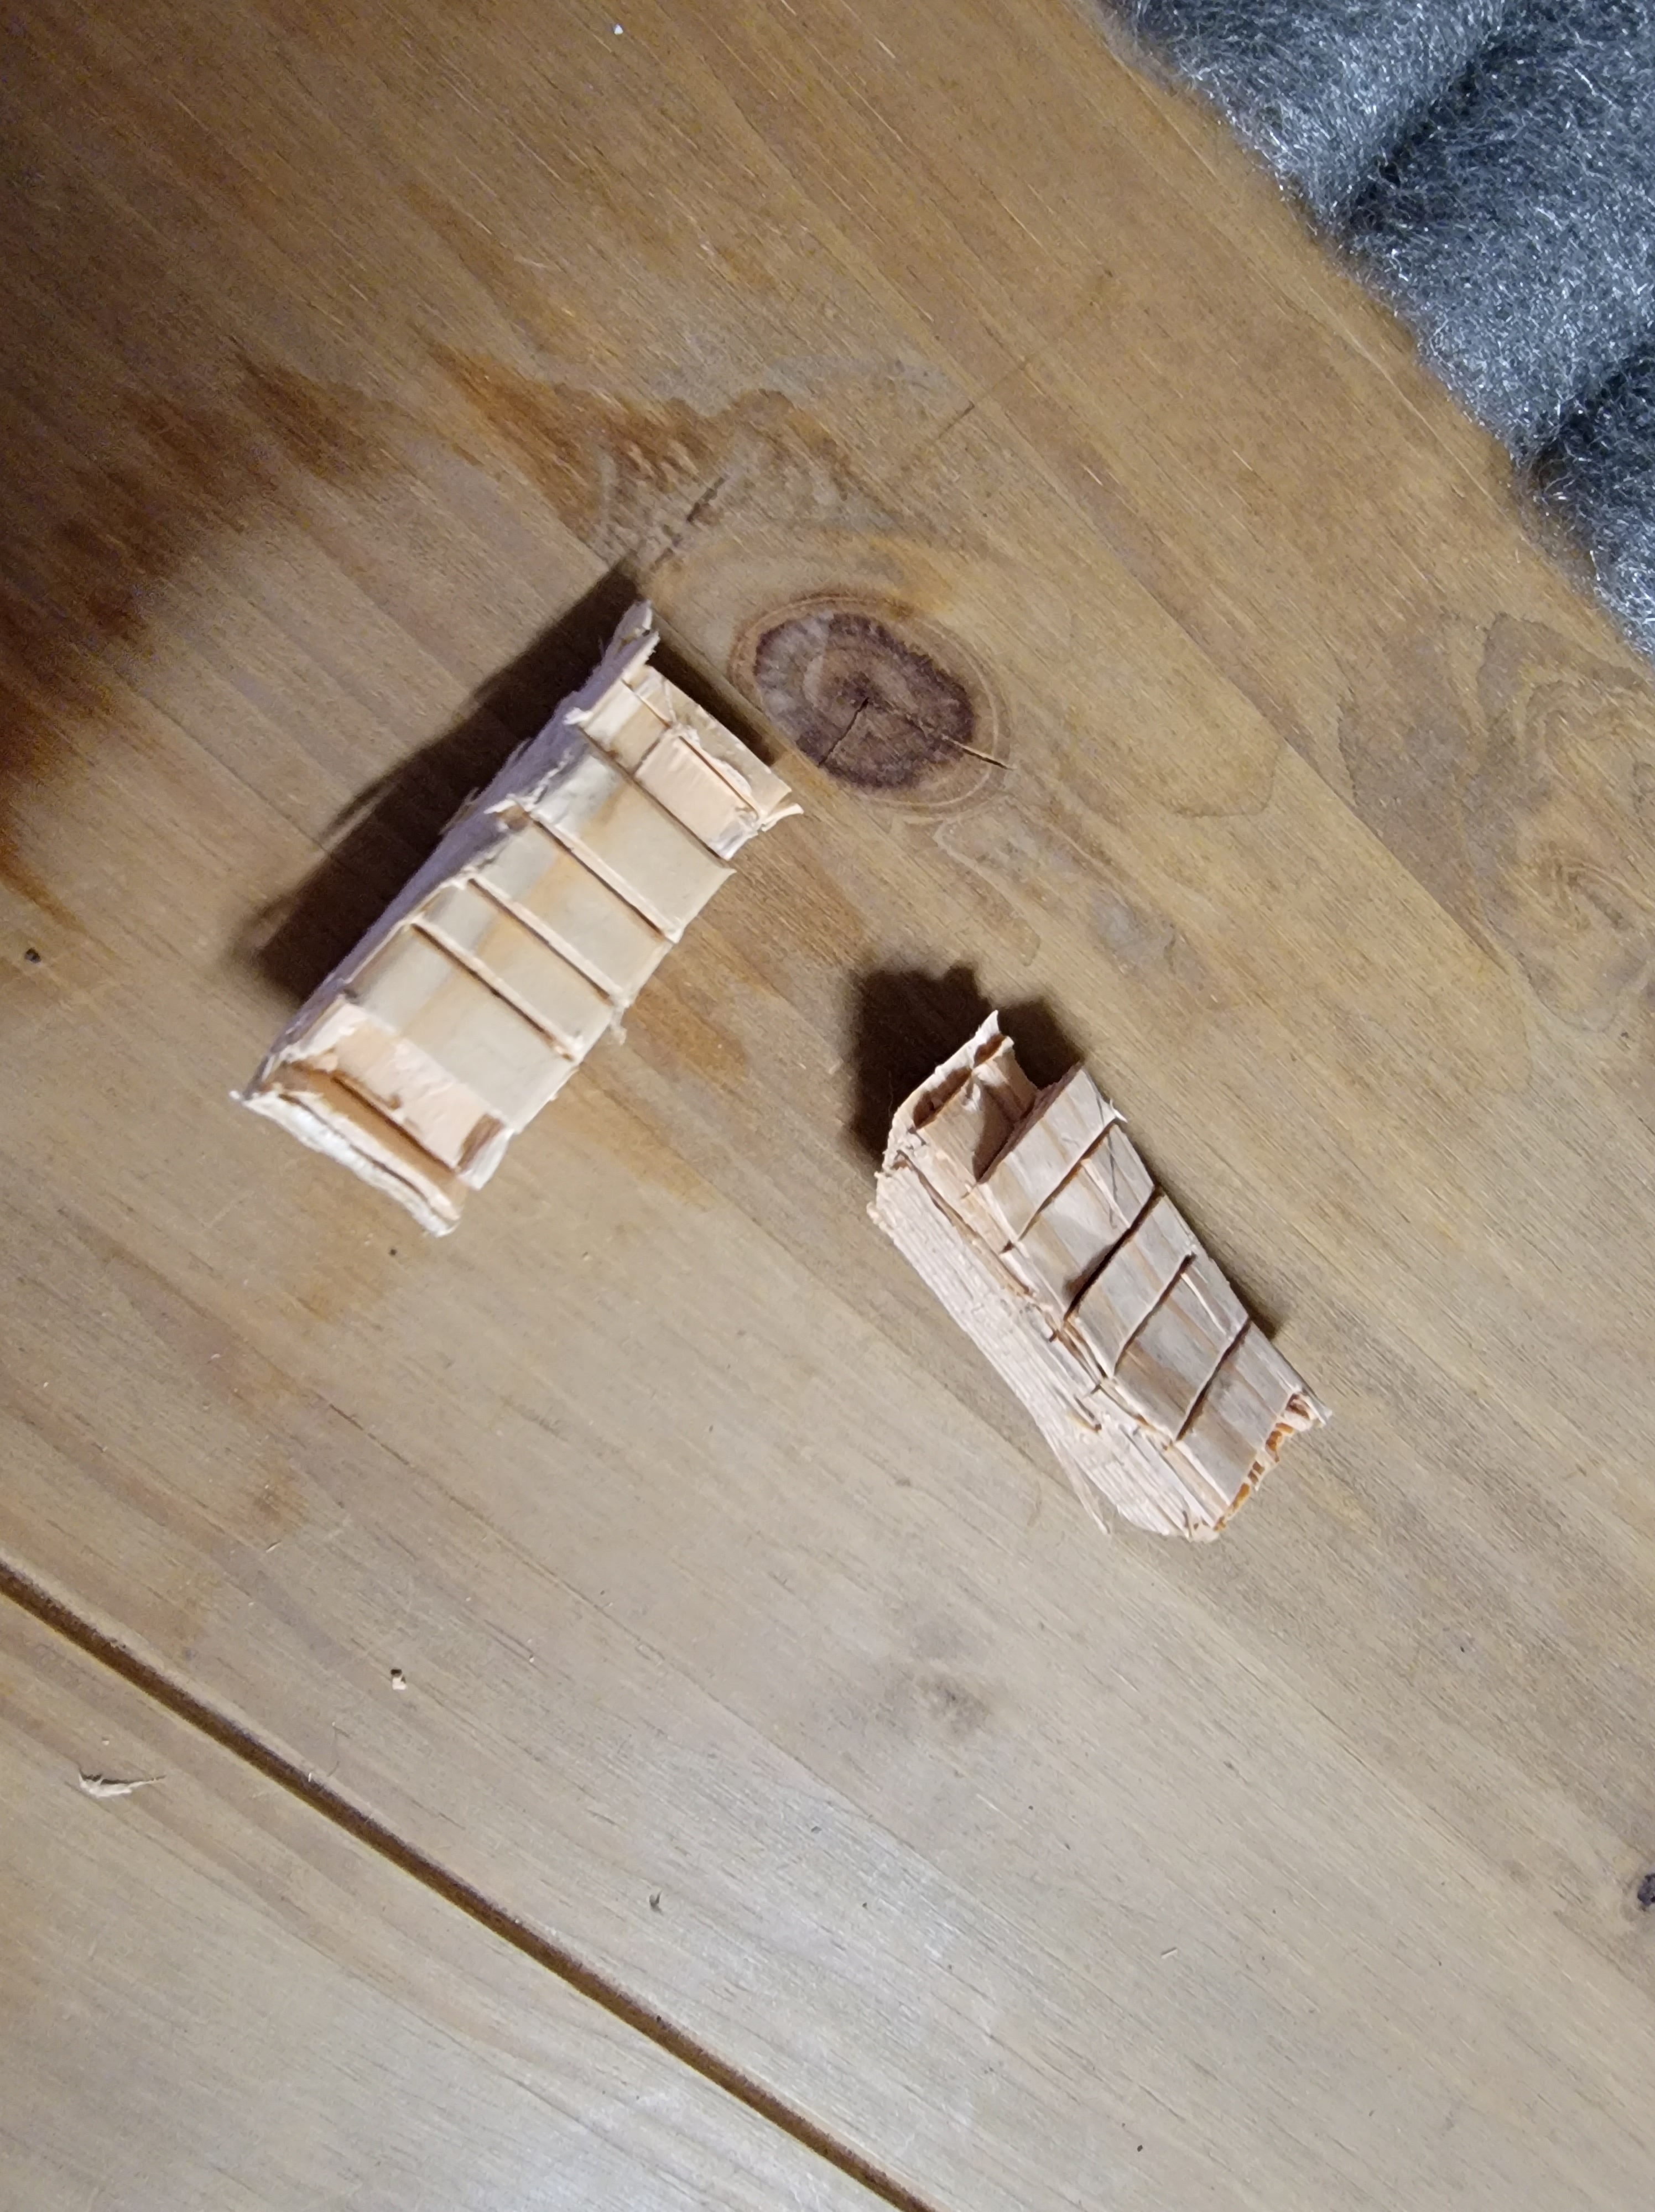
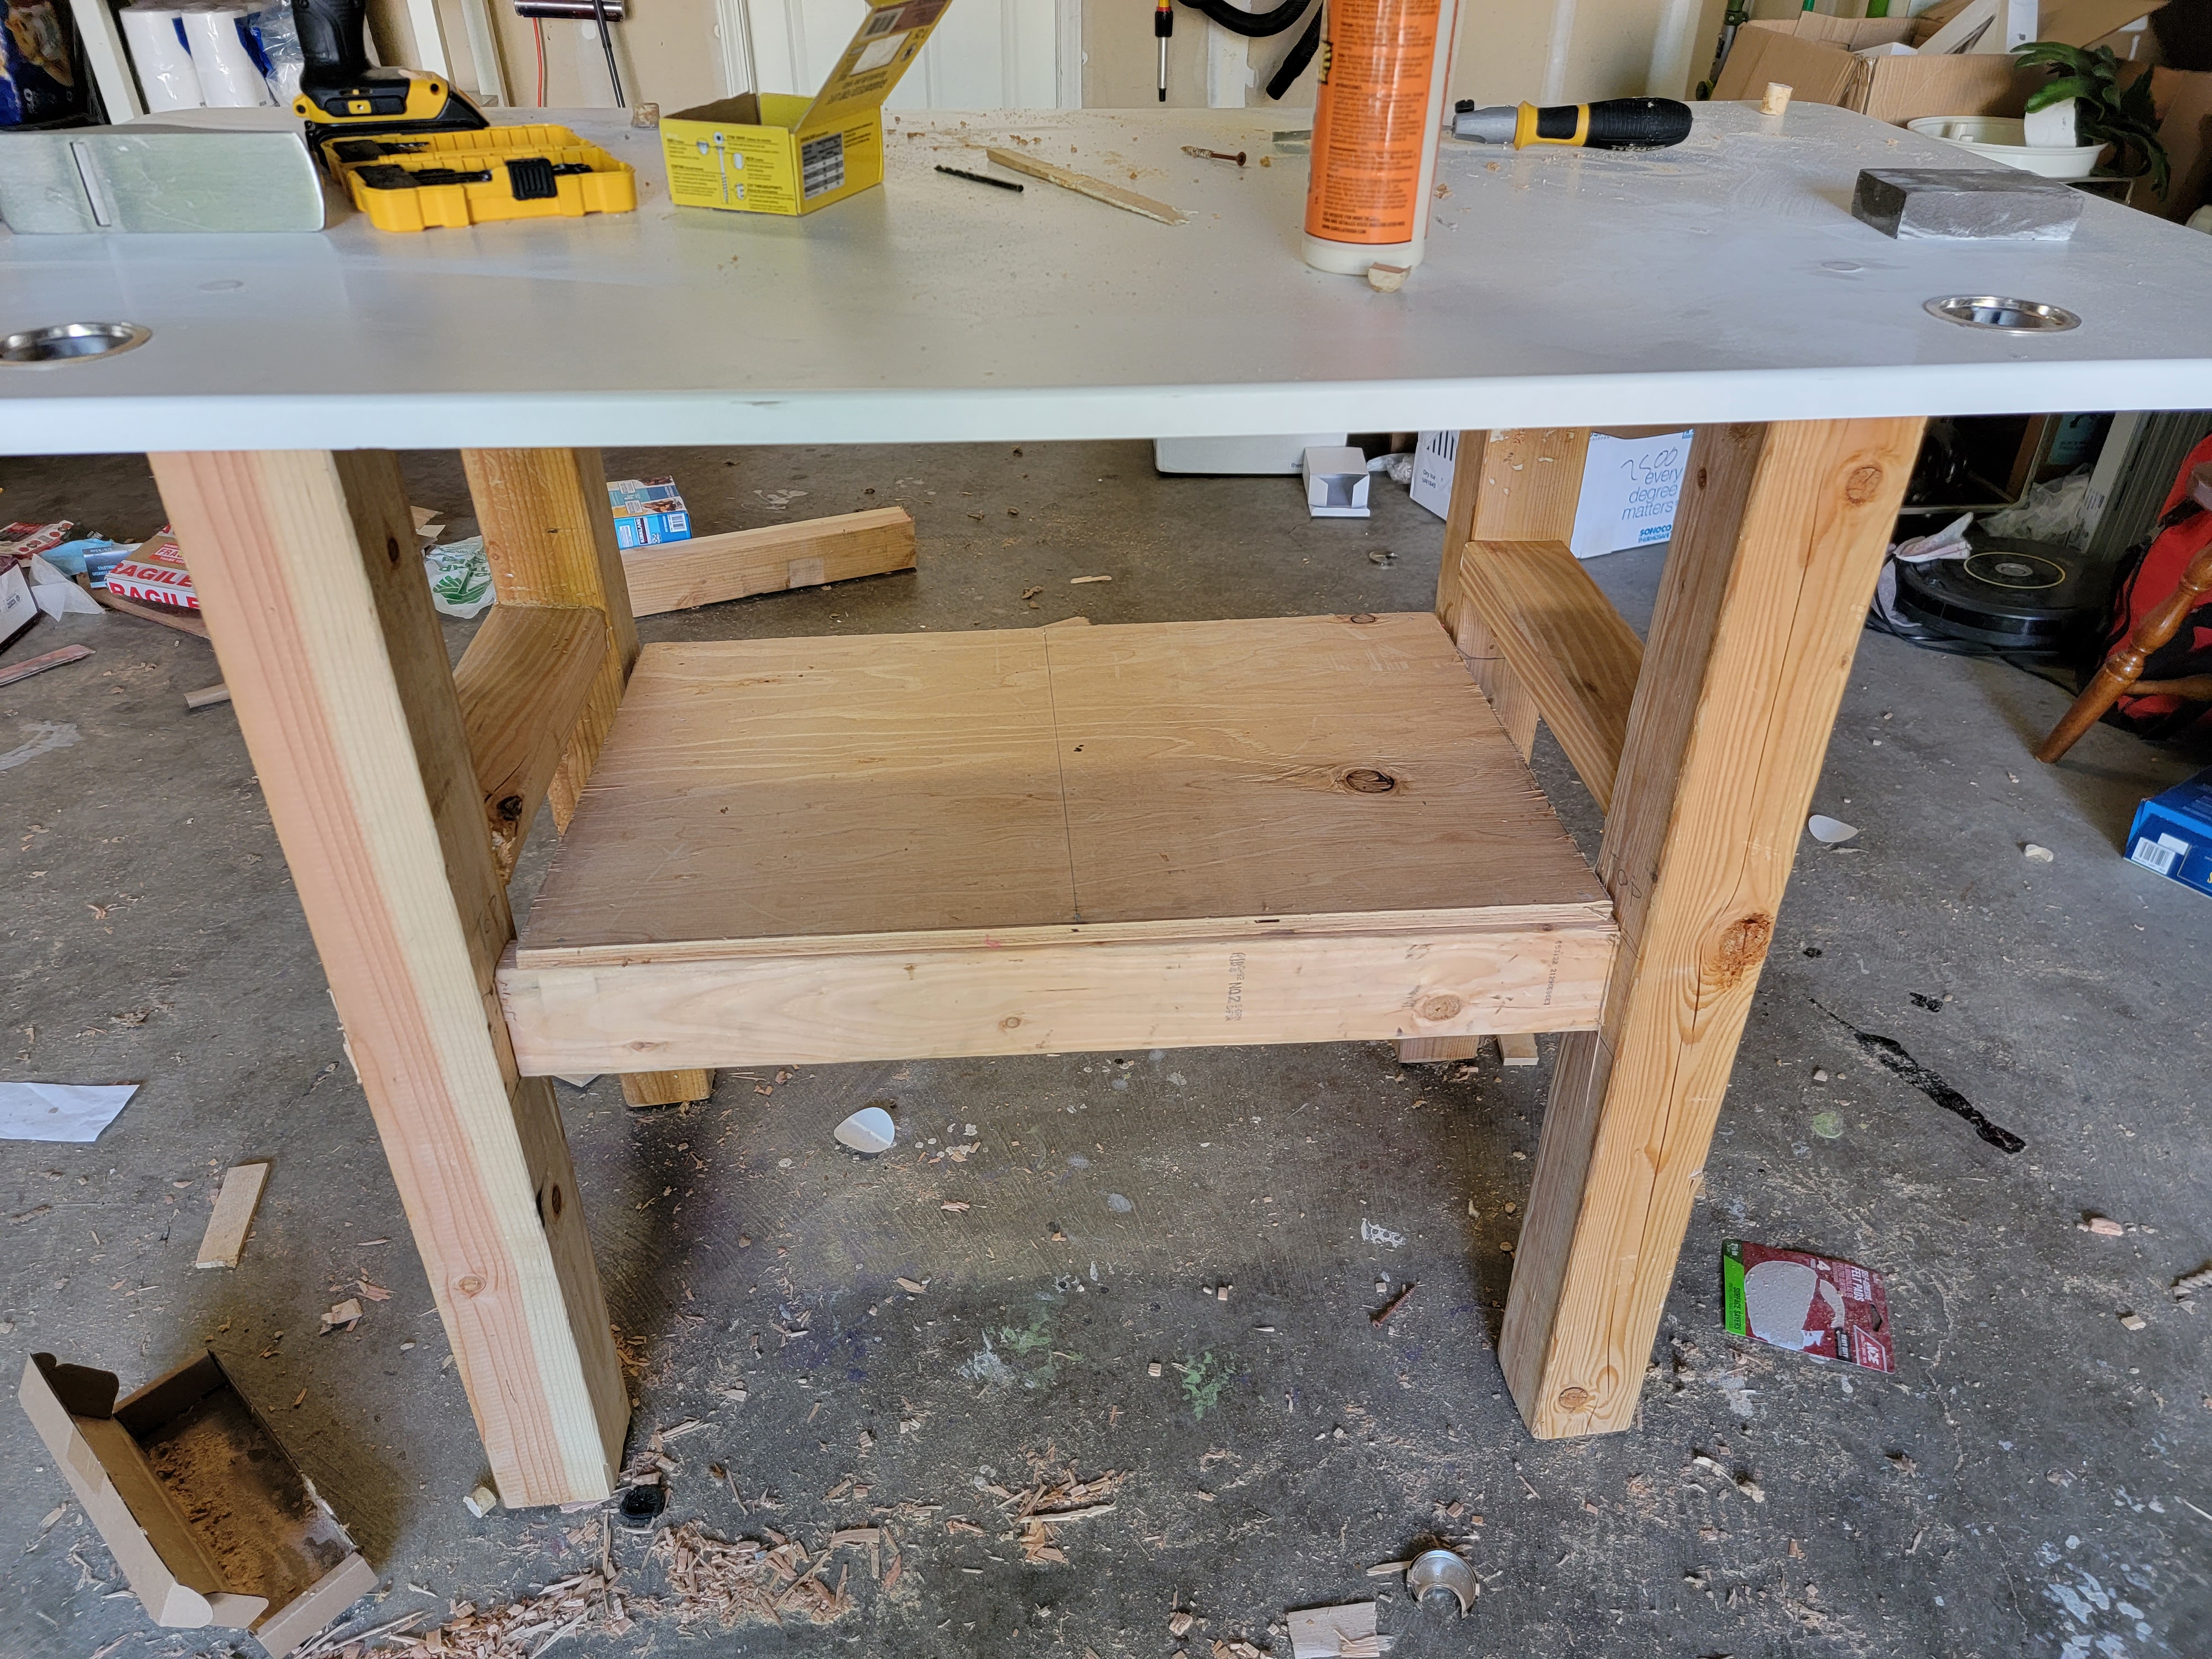
Now we don’t make mistakes we just have happy little accidents. The leg rails being too long made me change my whole approach in the end. My intention was to keep the whole thing as modular as possible permanently joining as little as possible. This worked except my legs being front and back made the bench unstable in that direction. So on one day I chiseled my first mortise and measured for my tenon cuts. Using a hammer and chisel(even if it’s brand new and you’re working with Douglas Fir, a softwood) to go through wood is a slow and loud process so I could only do so much in a day with the baby trying to sleep. The tenons were really easy as I just did a 1/8″ shoulder cut on each face with a hand saw then chiseled the tenon out. I made the tenons first so I could trace them directly against the face of my legs instead of measuring my cut. After finishing the first leg pair I was pretty satisfied and learned a lot going into the second. This one I finished in a day, eager to be done. Putting it all together I noticed how wobbly it was, the weight of the desk top not enough to self-stabilise. Even when I started I had no idea how to affix the top, so some more research later and I had some ideas. I had a few feet of 3/4″ dowling and decided to cut it into roughly 3″ dowels then drill through the table top and 2″ into the legs then drop them in. After this the modular table was done but still rickety. When I glued my tenons into the mortises I slathered them in wood glue but also drove in shims-to-shape from the outside (also with glue) to fill in the gaps of my imprecision. Despite making the feet as flat as I could with hand tools there was still some lean so I put felt pads under each. With the dowels in and the legs dried it was pretty stable but not enough for me.
This was after almost a week of putting it together and I was ready to be done. So I made wood putty (sawdust and wood glue) and lined my dowels slots, I then hammered them down and pushed in putty from the top. I also looked for any gaps or anywhere else it’d make sense to provide some more adhesion and filled those with putty. Finally I cut small rails to go between the legs glued each side and drilled pocket holes with framing screws to provide support perpindicular to the joined legs. A day later and I had a sturdy table, to increase storage space I took 3/4″ plywood and nailed it into the long rails to create a shelf.
Next I took two of the old doors and drilled in three hinges to make a kind of folding door. Then I chiseled about halfway through two 4×4 blocks to stabilise the doors vertically. To help keep it vertical I drove as-thick-as-possible shims into the gaps. Then I screwed a sheet of peg board to each door to create a tool rack. Using what I had I setup a work space. There’s the workbench, a media center acting as a secondary surface, two shelves, two wire-frame racks, and finally a TV and bluetooth-enabled speakers.
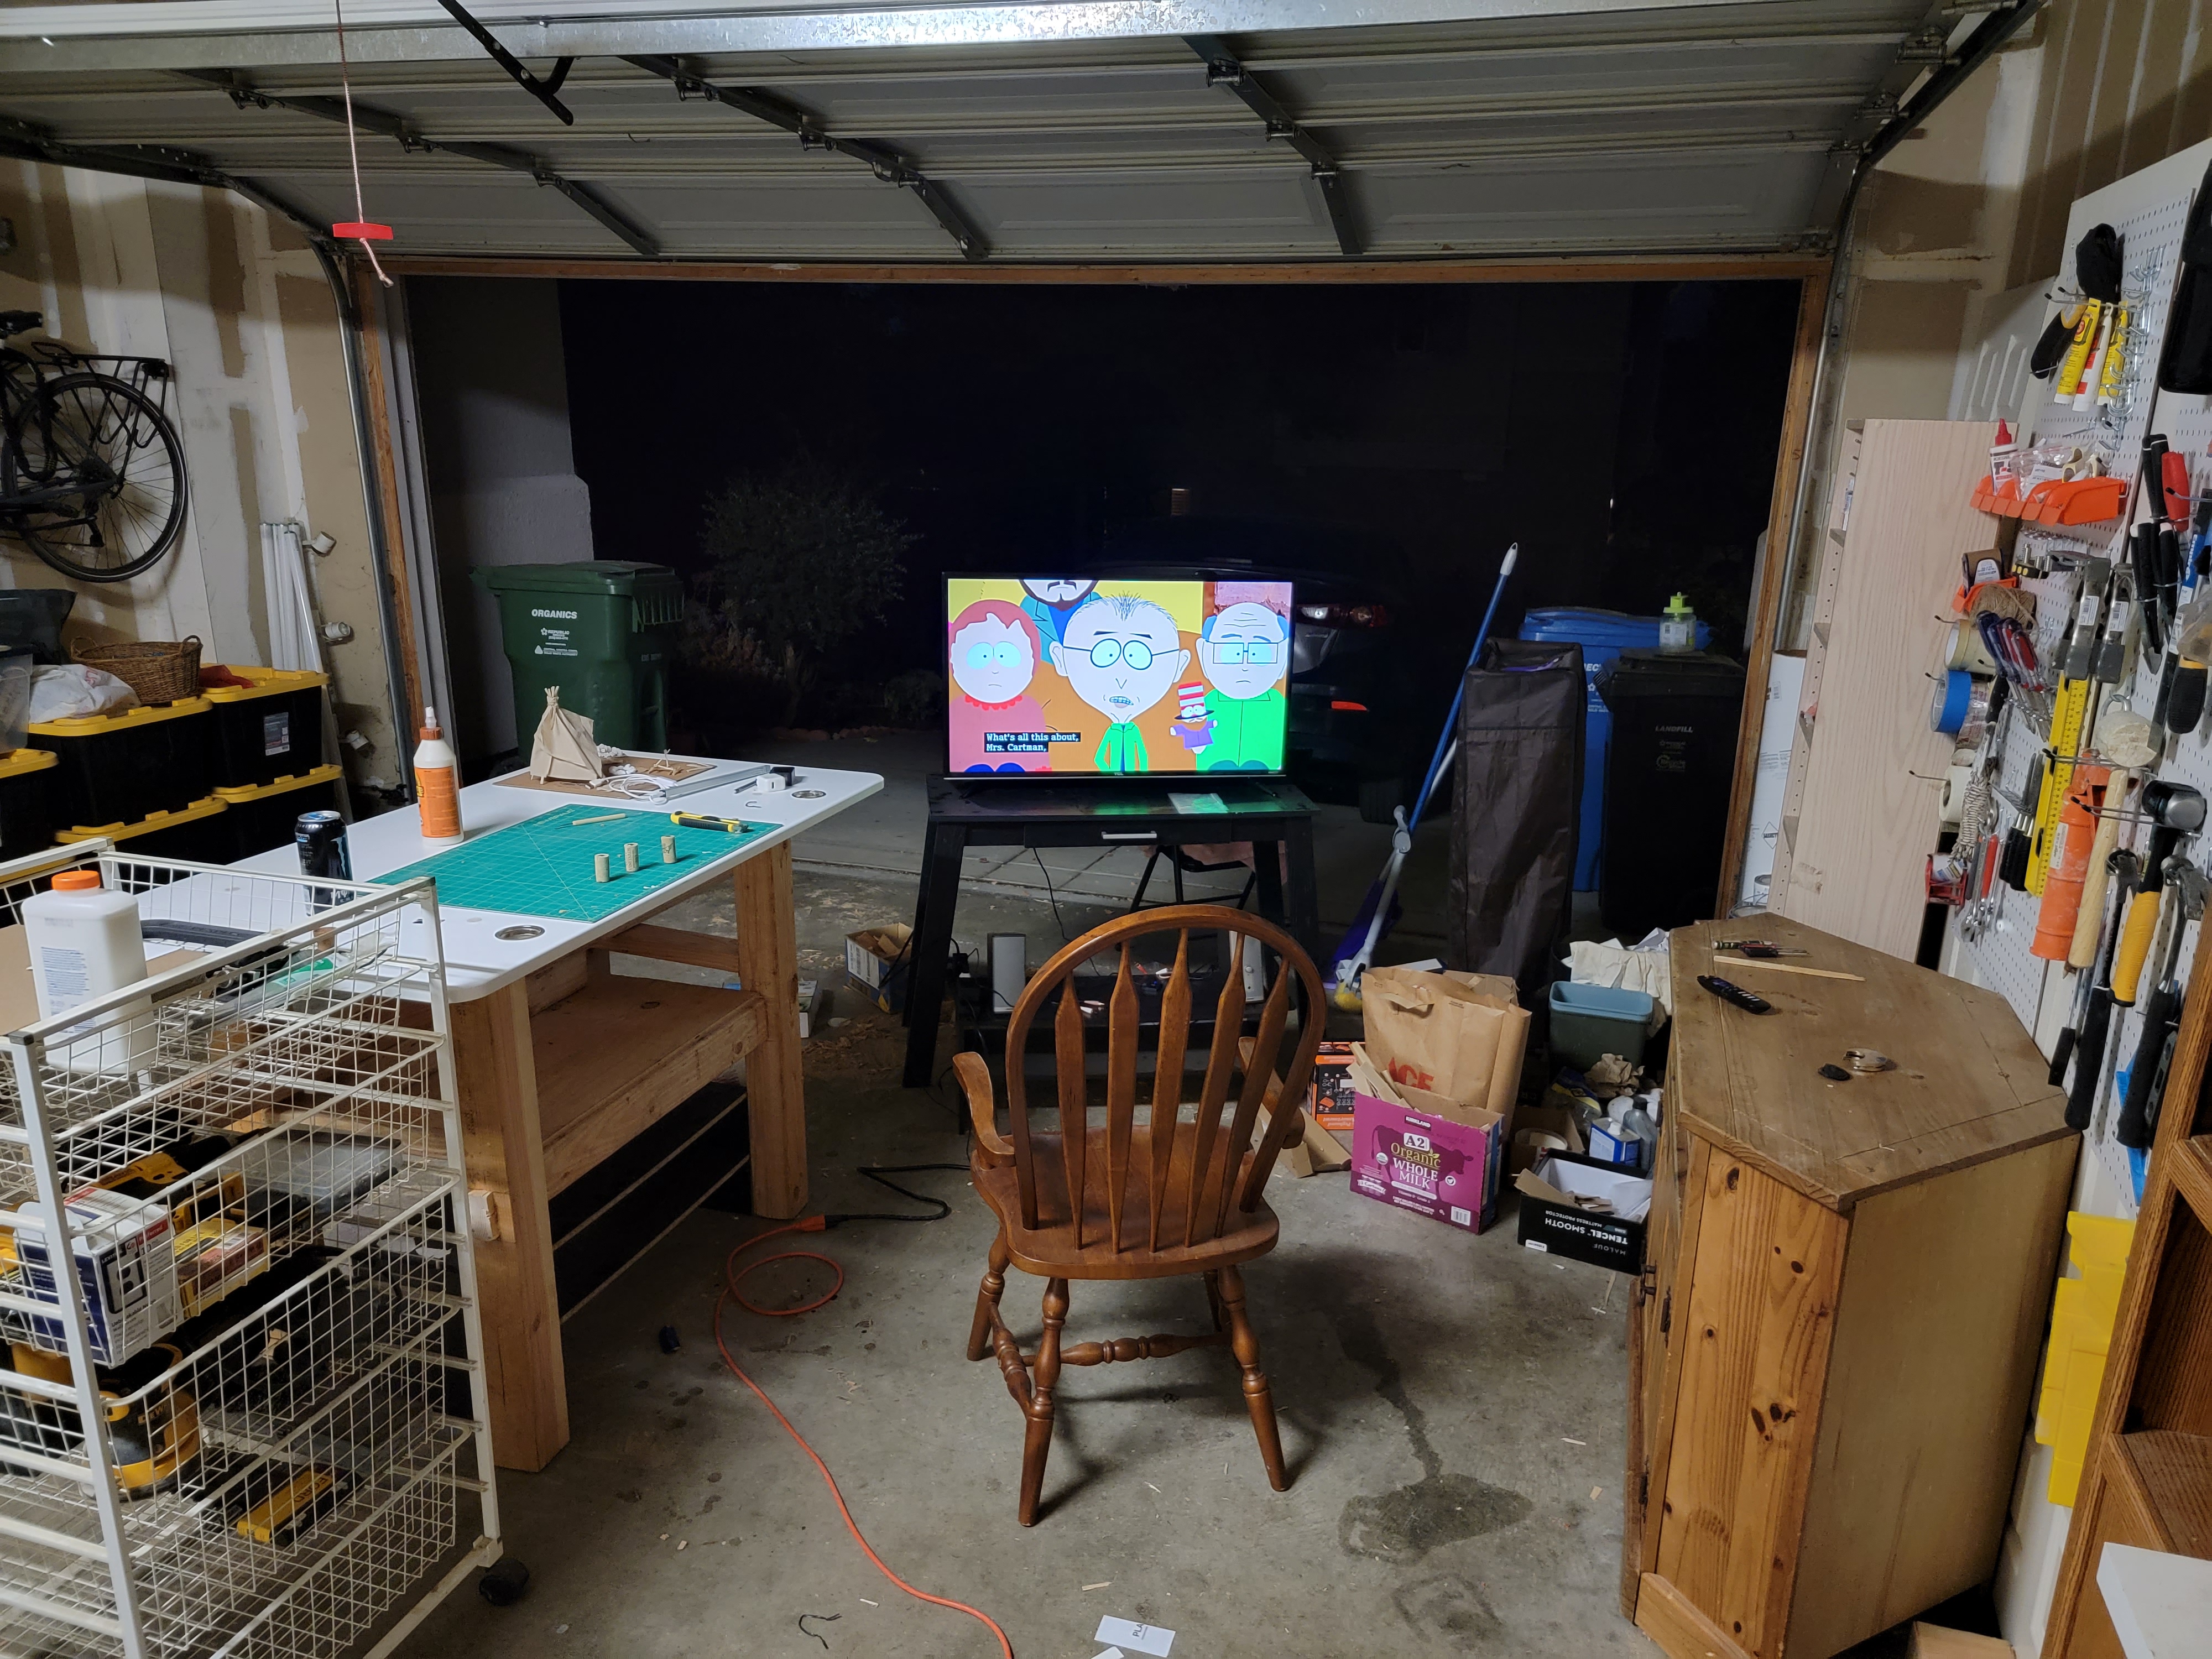

This was a really fun project and the garage is now a fully functional workshop. Eventually I’ll share what I’ve been making.
